Thursday, June 4, 2015


Ice Cream Ice Cream, We ALL Scream for Ice Cream!

It was a rainy day today requiring a boost in our energy! We decided to make homemade ice cream! My youngest is currently using Bob Jones university for English (Grade 2). In his homework there are instructions to follow to make ice cream. The purpose of the unit is to learn how to follow instructions in a recipe and learn about the difference between a tablespoon and teaspoon.

Bob Jones is a fantastic curriculum! As a homeschool mom, I enjoy that the lessons are all laid out for you with clear, simple instructions to follow for the lesson. 


Let's get started! 
Ingredients Required for Ice Cream:
1. 1/2 Cup Milk
2. 1 Tablespoon Sugar
3. 1/4 teaspoon Vanilla
4. Large Ziplock Bag
5. Small Ziplock Bag
6. 6 Tablespoons Salt
7. Ice
8. Hand Towel


Number One:
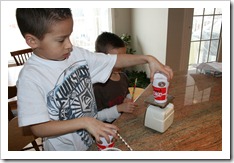
Mix The Milk, Vanilla, Sugar in the smaller bag and seal it. 


Number Two:
Fill the Larger bag half full of ice. Also add the salt and the small bag. Seal the big bag.


Number Three:
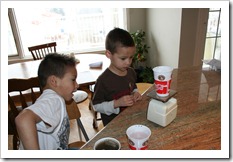
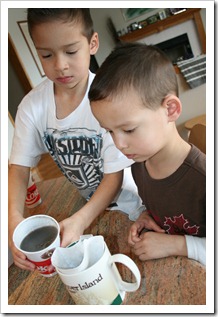
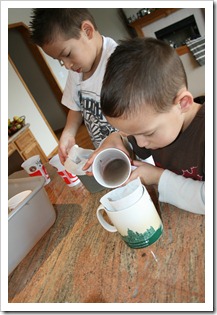
Wrap the big bag in a towel, Shake it for 5 minutes! This can get cold!!!!
Also try and enlist your older brother to help you!


 Number 4:
Take to the little bag and wipe the water off. Eat the ice cream!!!! Enjoy!


 Share it with your Grandfather!!! Guaranteed Hugs!!


Wednesday, April 29, 2015

Simple Circuits

We had a blast today creating and learning about circuits. Below is a video that my oldest son made which explains what conducts electricity and how to make a simple circuit. Our experiment is taken from Bob Jones University Science Grade 4. Enjoy!

https://www.youtube.com/watch?v=f-oDjQ58en8&feature=em-upload_owner

Thursday, May 10, 2012

Weather Unit: Types of Clouds and All About Pollution


We have had an incredibly fun time learning about the types of clouds. I kept it pretty simple and chose to teach the boys four types. Every single day they have raced outside to see what clouds are out that day! We started off by reading a wonderful book about clouds. There are so many choices, but we like this one!

The boys first started off by drawing the clouds of their choice.
IMG_8827

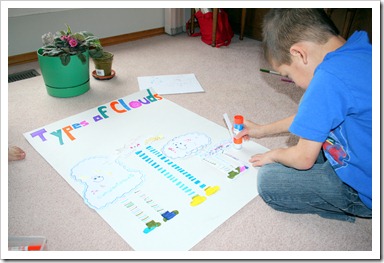
Then the art work began! The only instructions were to make a cloud person!
IMG_8828

IMG_8829

My youngest is making sure the glue goes on properly!!
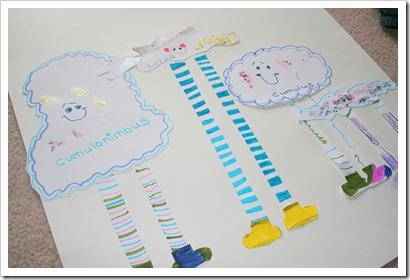
IMG_8833

Ta-da! Their cute little cloud buddies!
IMG_8831

This idea was found on pinterest. Here is the website! www.theinspiredapple.blogspot.com
Enjoy!!


The next day we talked about pollution and how it gathers in clouds and what happens when it rains.
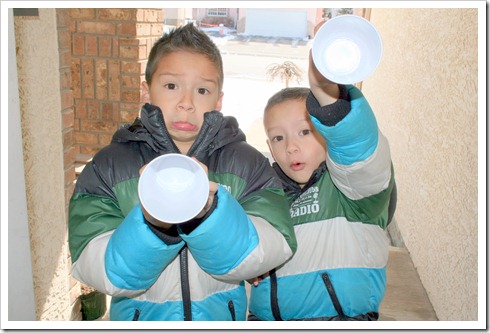
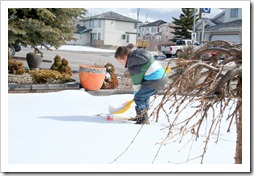
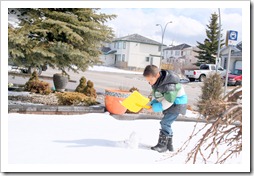
Step 1: The boys each started out with three cups. Their task was to fill the cups with snow from three different areas of the yard.
IMG_8844
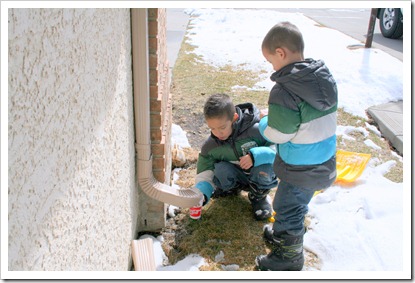
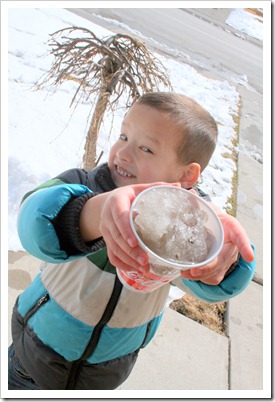
Step 2: See where they choose to fill their cups. One was taken from snow on the street, one was snow on the grass and one was the runoff from the roof. Creative boys!!

IMG_8845IMG_8846IMG_8847IMG_8848IMG_8849
IMG_8850


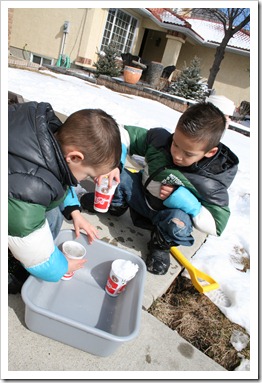
Step 3: Put the cups in the bucket and put them out in the sun to melt.

IMG_8851
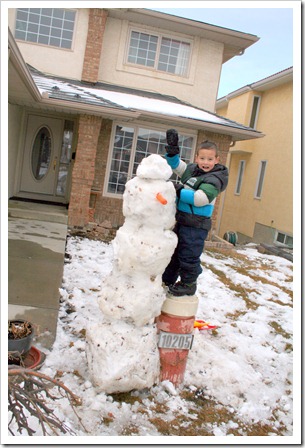
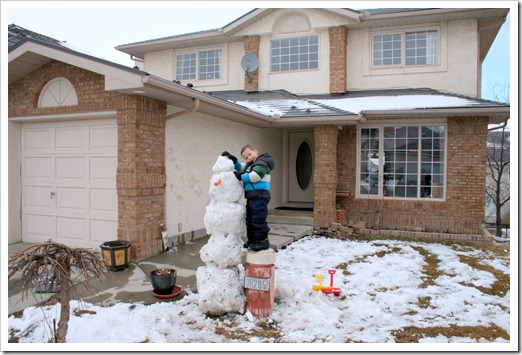
Step 4: While the water is melting, build a snowman!!
IMG_8853

IMG_8856
IMG_8857
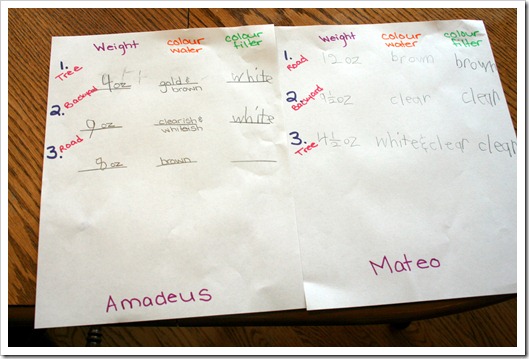
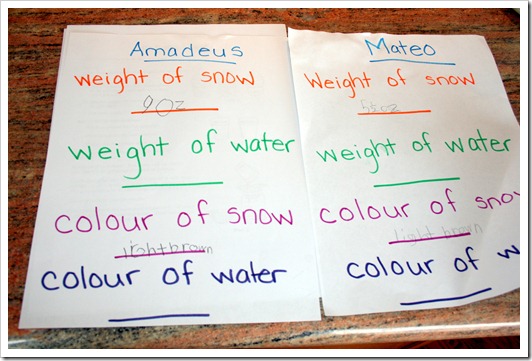
Step 5: Put each cup onto the scale and mark down the weight on your paper.
IMG_8859
IMG_8860IMG_8861

Step 6: Pour the liquid into a coffee filter in order to filter out the pollution.
IMG_8863IMG_8864
Step 7: Once the water drips through the coffee filter, see what colour you get! It actually takes about 3-5 mintues for the dirty water to filter through! My oldest knew exaclty why. His response, “Mom the dirt is clogging the filter so the water cannot go through very fast.”
IMG_8866IMG_8867

Step 8: Be sure to keep a graph of your findings!!!

IMG_8868IMG_8869
The pollution idea came from teachercreated.com. Look up their weather unit!
Enjoy!!

Sunday, April 22, 2012

Pin Tuck Duvet Cover


I have been looking for months to find a grey duvet cover for both of my boys. I wanted something that is sophisticated and yet can withstand the ruff and tough boys that will be jumping on it. Something that does not need to be ironed and something that I can simply throw in the wash and has easy care appealed to me! I found exactly what I wanted at Anthropology and yet the price tag of $300 each just did not fit into my budget.
ah, how i love gray.  and duvet covers.
Target had one, however we live in Canada and it just wasn’t possible to purchase one.

West Elm had one I LOVED and yet was still way over budget for me!

So, I took things into my own hands! Pinterest was of HUGE help!! I immediately found several tutorials that were an incredible help to me! (THank you ladies for your help!!)
Here is how you can make your very own Pin tuck duvet cover.
Materials needed:
1. Two flat sheets. (My boys twin bed has a double sized duvet on it. I used two flat sheets in the same grey colour.) The ones I bought were on sale for $30 each. Yes, I know still a little pricey, however I did purchase 450 count and am so happy with the results!)
2. Matching thread and zipper (I used 55 CM or approximately 22.25 length).
3. Ruler and washable marker or chalk to mark your lines!
4. Sewing Machine!!

Steps
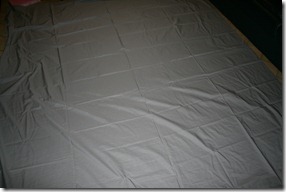
1. Lay one of your flat sheets out on the floor, bad side up, or the size you want on the inside of your duvet facing up.
IMG_8940
2. I then marked the middle and measured 10 inches from the dot. I then marked this spot. For the dots above and below the middle dot, I moved over by 5 inches.
Here is an example:
*      *      *      *      *
   *      *      *      *      *
*      *      *      *      *     
   *      *      *      *      *
I wanted my pin tucks to be spread out!

IMG_8942

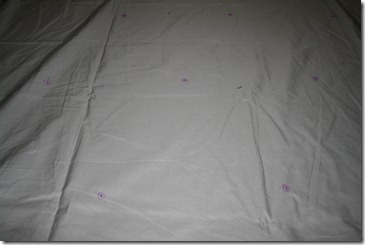
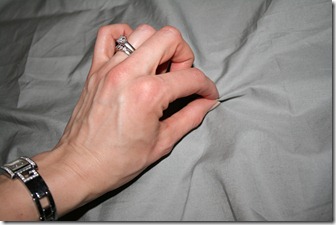
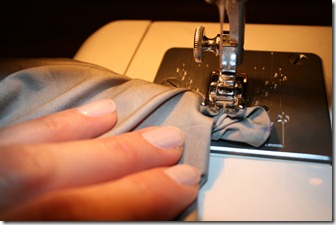
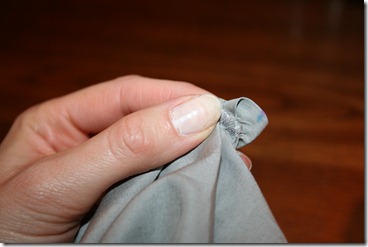
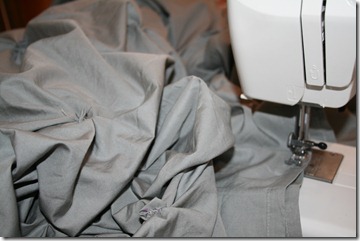
3. I then grabbed the dots that I had marked, pinched it and twisted it one full turn to the Right. Once you grab it, bring it the the sewing machine and sew it approximately 1/2 inch in. Continue with the rest of the dots you marked.

IMG_8945
IMG_8948

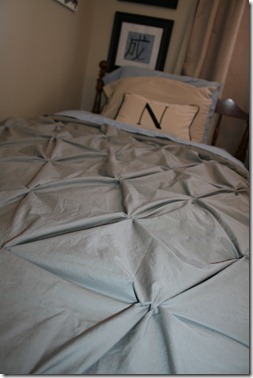
4. Here is what yours should look like!
IMG_8949

5. And here it is! Completed after one hour!!
IMG_8952


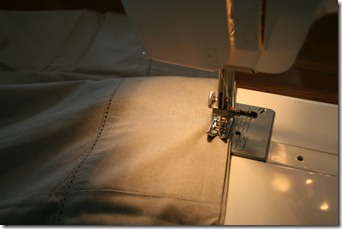
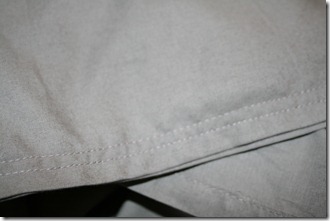
6. Next step is to take the two flat sheets and sew them together. I zigzagged it twice to reinforce it.

IMG_8953
IMG_8957
7. Make sure you have a large sewing space as once you begin sewing the flat sheets together it is a bit cumbersome!
IMG_8958
8. Enjoy your final product!!

IMG_8960
IMG_8965
IMG_8969
Good luck to you and please share your photos of your duvet!
Have fun!!